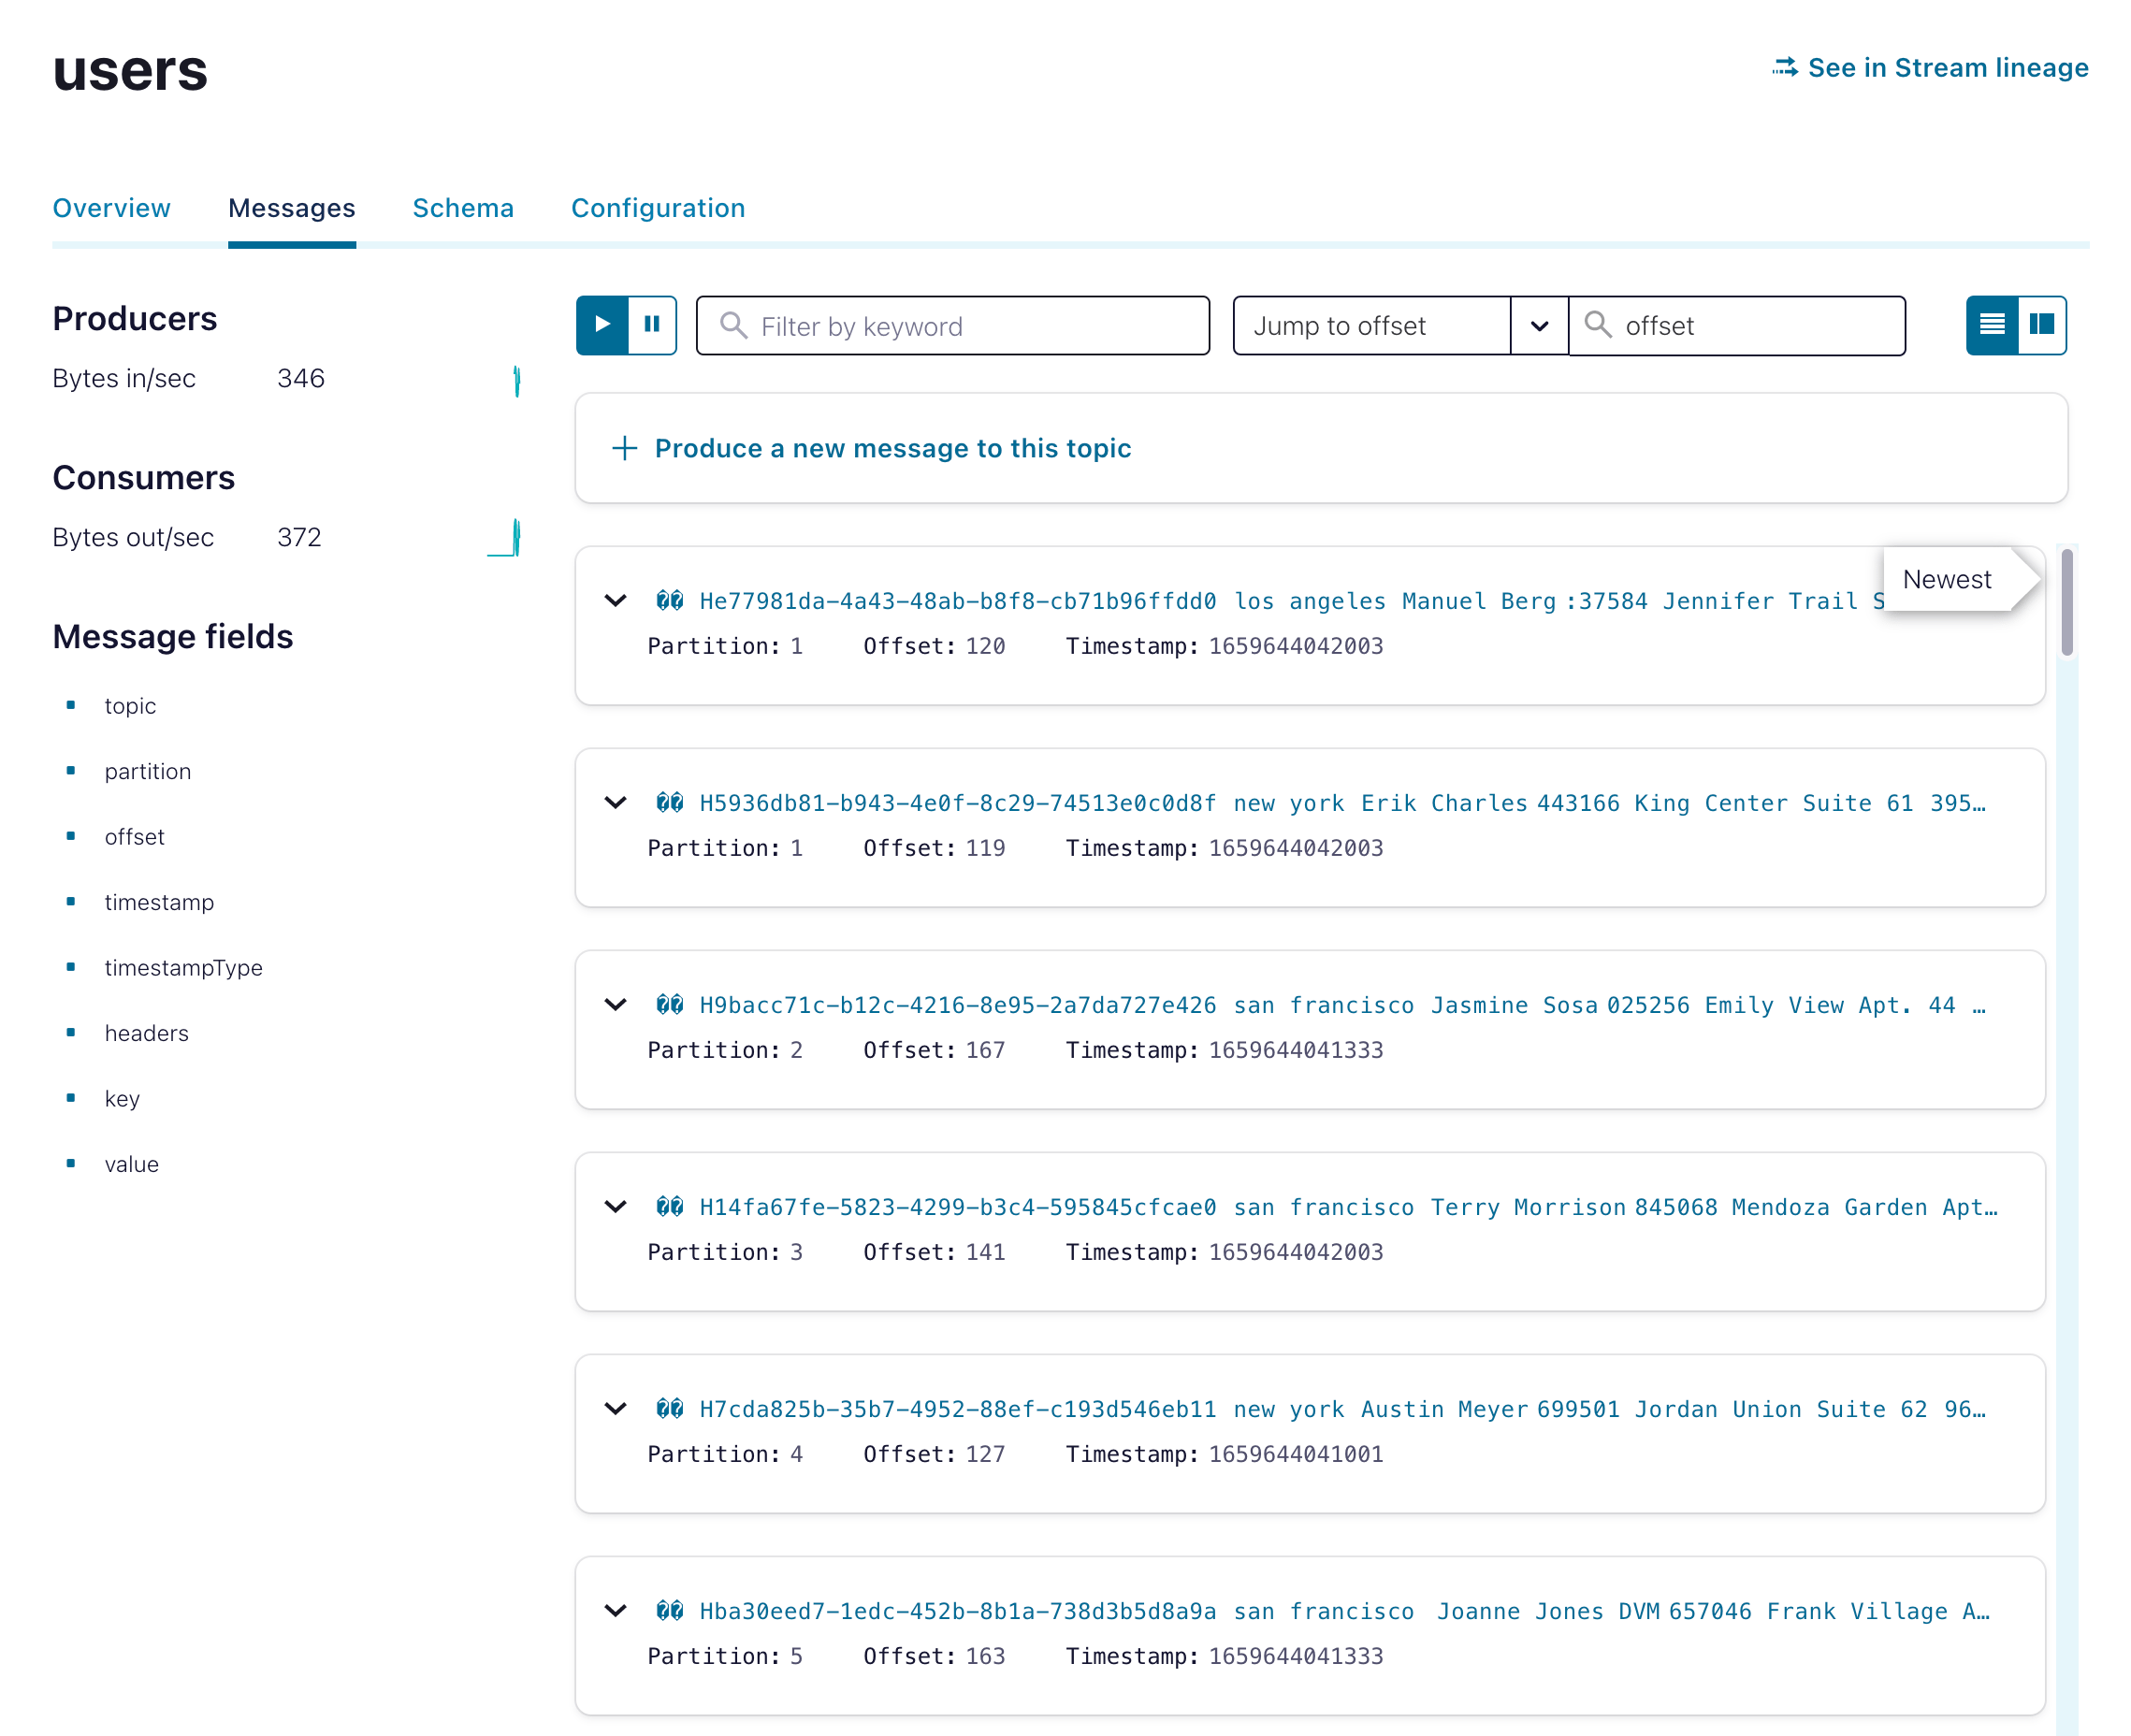
- Confluent Cloud Kafka cluster
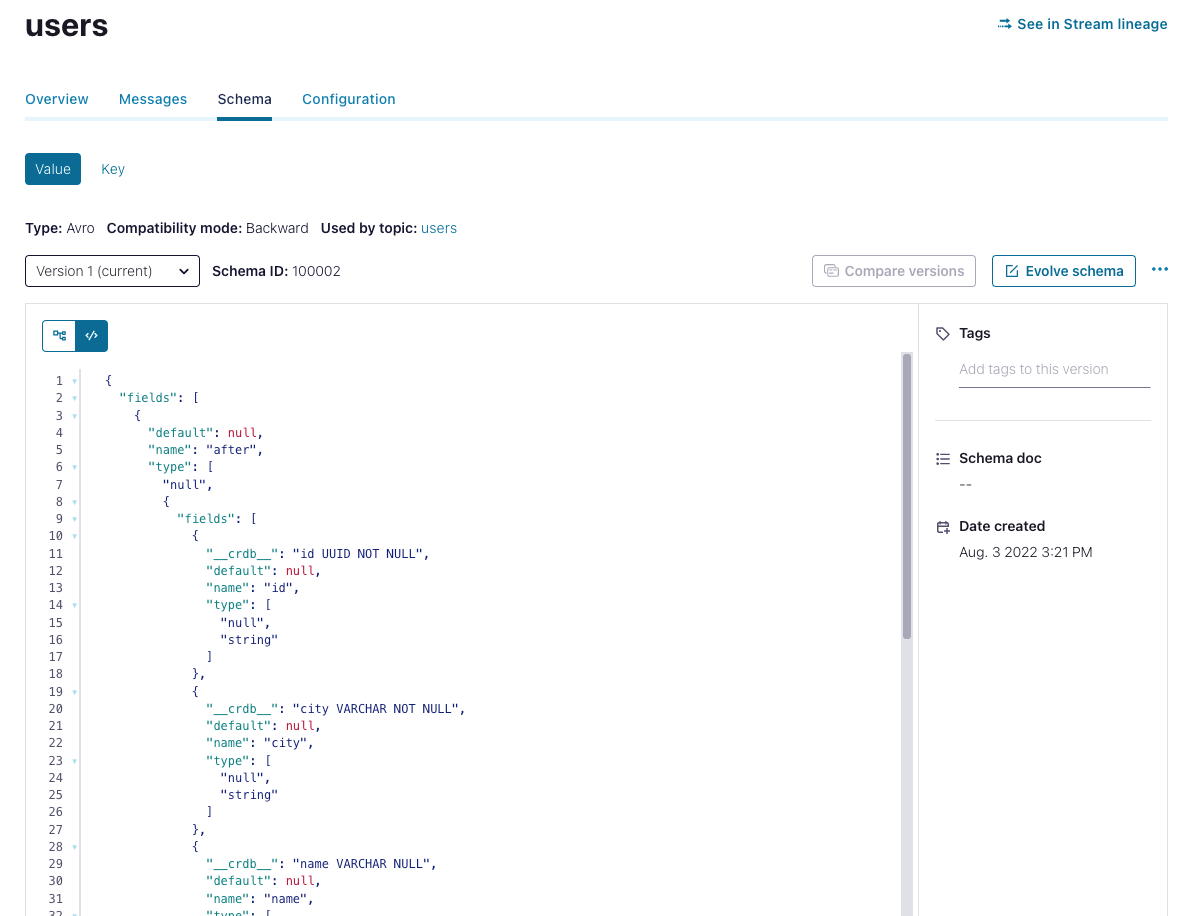
- Confluent Schema Registry
- Changefeed streaming to your Confluent Cloud Kafka cluster
Before you begin
You will need the following set up before starting this tutorial:- A CockroachDB cluster. You can use a CockroachDB Cloud or CockroachDB self-hosted cluster. If you are using CockroachDB Basic, Standard, or CockroachDB Advanced, see the guide. For CockroachDB self-hosted clusters, see the page.
- A Confluent Cloud account. See Confluent’s Get started page for details.
- The Confluent CLI. See Install Confluent CLI to set this up. This tutorial uses v3.3.0 of the Confluent CLI. Note that you can also complete the steps in this tutorial in Confluent’s Cloud console.
- The
CHANGEFEEDprivilege in order to create and manage changefeed jobs. Refer to for more details.
Step 1. Create a Confluent Cloud Kafka cluster
In this step, you’ll use the Confluent CLI to create and configure a Kafka cluster.-
Ensure you are logged in to Confluent Cloud:
These instructions use the
--saveflag to store your username and password to a local file for convenience during this tutorial, but you can omit this flag if you would prefer to manually authenticate yourself each time. -
List the environments in your Confluent Cloud account:
If you haven’t created an environment explicitly, this command will list a default environment. You can use the default environment for this tutorial.
-
If you would prefer to create an environment, run the following command with a name for your environment:
-
Set the environment that you would like to create your cluster in, using the environment’s
ID, which starts withenv-: -
Create a Kafka cluster:
Here the name of the cluster is
movr-confluent-tutorial, but you can change this for your cluster. Note that the--cloudand--regionflags are required when running thecreatecommand. See Confluent’s documentation onconfluent kafka cluster create. Thecreatecommand returns your new cluster’s details, with a format similar to the following:You’ll need this information later in the tutorial, but you can also access this status at any time with the following command:
It can take up to 5 minutes for your Kafka cluster to provision. The
Status field in the cluster’s details will change from PROVISIONING to UP once your Kafka cluster is ready.Step 2. Create a cluster API key and secret
In this step, you’ll create an API key and secret for your Kafka cluster, which you’ll need for connecting to your changefeed.-
Create the API key for your Kafka cluster:
You will receive output displaying your API and secret key.
-
To make the consumer setup easier later in the tutorial, you can store the API key locally and set it as your active API key:
This will prompt you to enter your API and secret key. Use the
--forceflag if you already have a key stored in your local environment.
Step 3. Create Kafka topics
Next, you’ll create the Kafka topics for your changefeed messages.-
Ensure you have the correct active Kafka cluster:
-
Run the following command to create a topic:
userswill be the topic name for this tutorial. If needed, you can change the topic name for your purposes and run the previous command for each topic you would like to create.
Step 4. Create a Confluent Schema Registry
In this step, you’ll create the Schema Registry in your environment. Enable the Schema Registry for the active environment:--cloud and --geo flags are required with this enable command. See the confluent schema-registry cluster enable docs for more detail. To match the Kafka cluster setup for this tutorial, the cloud is set to Google Cloud Platform and the geo to the US.
You will receive output showing the Schema Registry’s ID and its endpoint URL:
Step 5. Create a Schema Registry API key and secret
Generate an API and secret key for the Schema Registry using the ID from your output:Step 6. Create a Kafka consumer
In this step, you’ll start a Kafka consumer for the changefeed messages. Run the following command to create a consumer:confluent kafka cluster describe {CLUSTER ID} returns a Status of UP.
Your terminal will wait for messages after this command has run successfully.
Step 7. Prepare your CockroachDB cluster
To create your changefeed, you’ll prepare your CockroachDB cluster with themovr workload and .
-
In a new terminal window, initiate the
movrworkload for your cluster: -
Run the workload to generate some data:
-
Start a for your CockroachDB cluster:
-
Before you can create a changefeed, it is necessary to enable rangefeeds on your cluster:
Step 8. Create a changefeed
Before running the statement, you must URL-encode both the cluster’s and the Schema Registry’s API secret key. You can also to define a name for the Kafka and Confluent Schema Registry URIs. This allows you to interact with your defined name instead of the provider-specific URI.-
Construct the Kafka URI:
Use the
Endpointfrom your cluster details and precede it with thekafka://scheme. For example, an endpoint ofpkc-4yyd6.us-east1.gcp.confluent.cloud:9092would be:kafka://pkc-4yyd6.us-east1.gcp.confluent.cloud:9092. Since the Kafka cluster usesSASLauthentication, you need to pass the following . This includes the cluster API and secret key you created in Step 2:tls_enabled=truesasl_enabled=truesasl_user={CLUSTER API KEY}sasl_password={URL-ENCODED CLUSTER SECRET KEY}sasl_mechanism=PLAIN
-
Create an external connection for the Kafka URI:
-
To construct the Confluent Schema Registry URI, you need:
- Schema Registry API Key created in Step 5.
- URL-encoded Schema Registry secret key created in Step 5.
- The
Endpoint URLfrom the Schema Registry’s details created in Step 4. Make sure to add the:443port to the end of this URL. For example,psrc-x77pq.us-central1.gcp.confluent.cloud:443.
Use thetimeout={duration}query parameter (duration string) in your Confluent Schema Registry URI to change the default timeout for contacting the schema registry. By default, the timeout is 30 seconds. -
Create an external connection for the Confluent Schema Registry URI:
-
Create the changefeed with any other options you need to configure your changefeed:
See for a list of all available changefeed options. Use the
changefeed.schema_registry.retry_countmetric to measure the number of request retries performed when sending requests to the schema registry. For more detail on monitoring changefeeds, refer to .
Step 9. Verify the output
Move to the terminal window in which you started the Kafka consumer. As the changefeed runs, you will see the change data messages similar to the following: